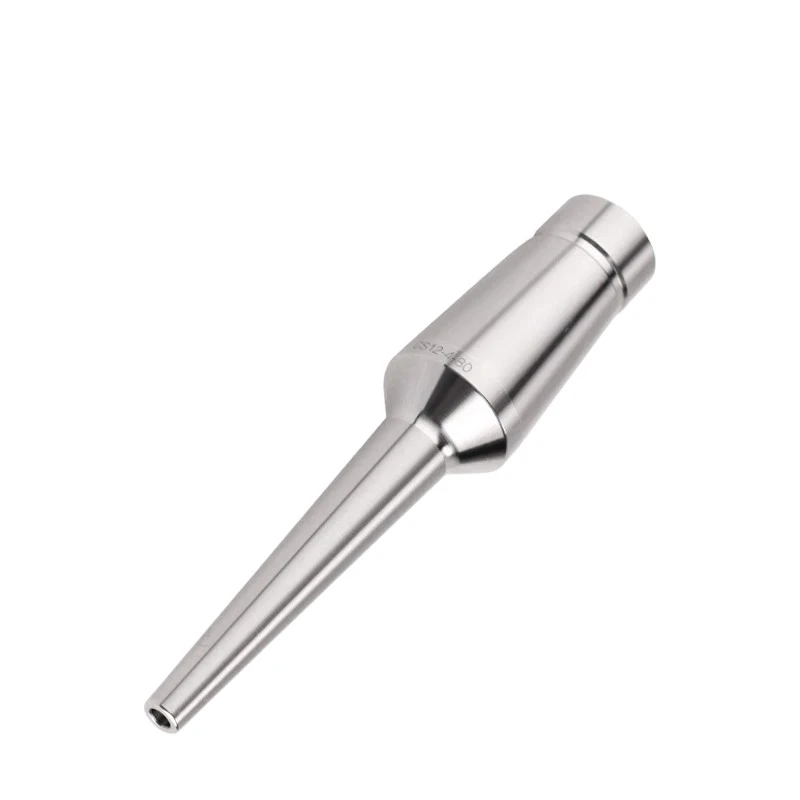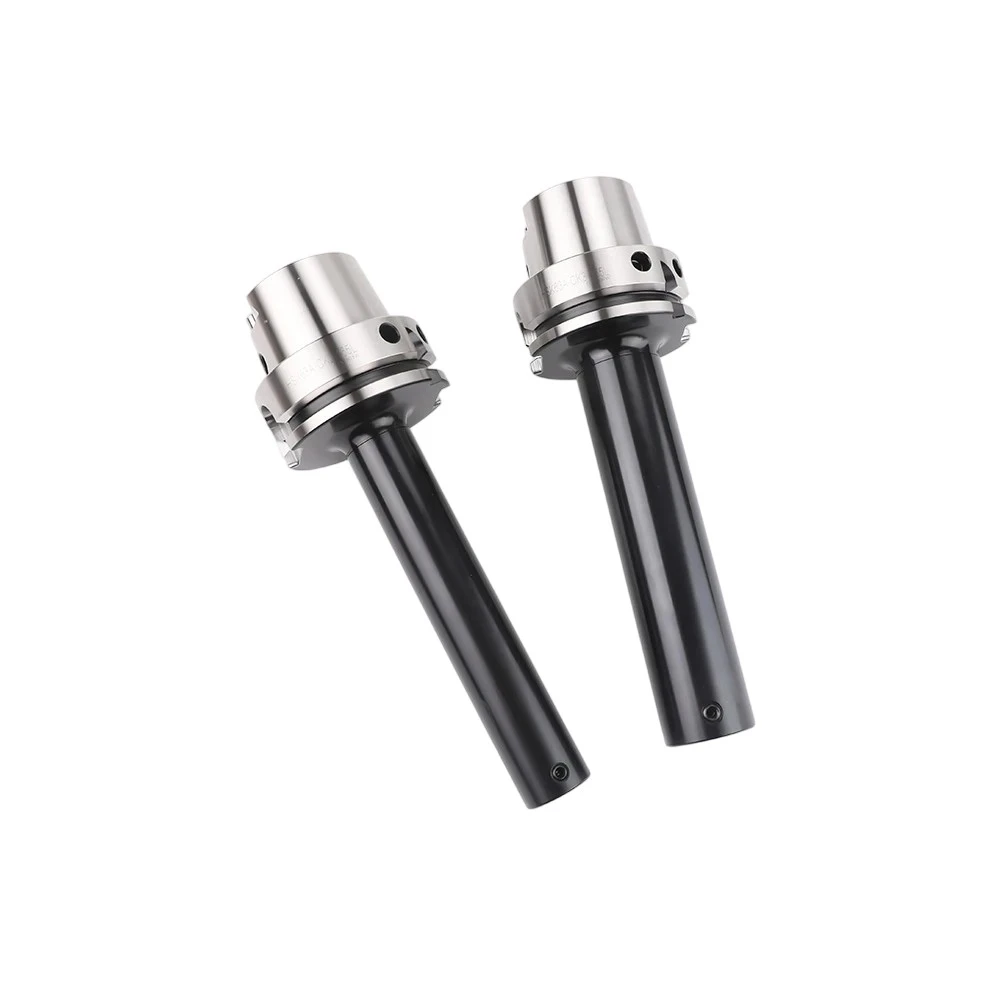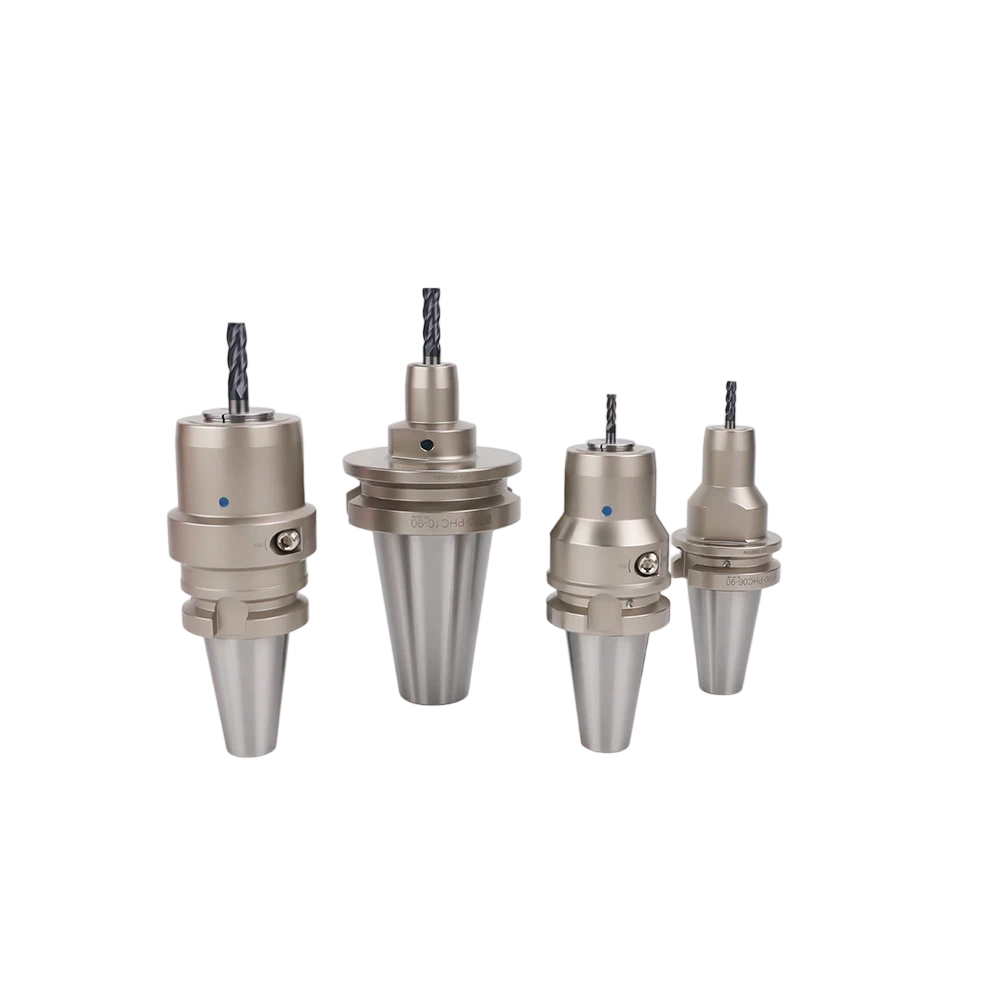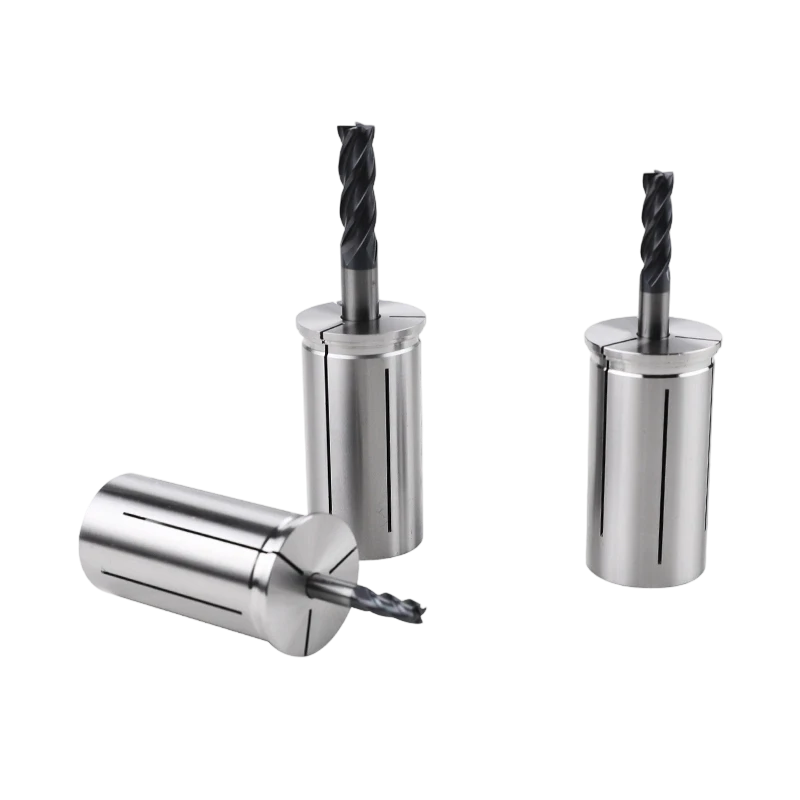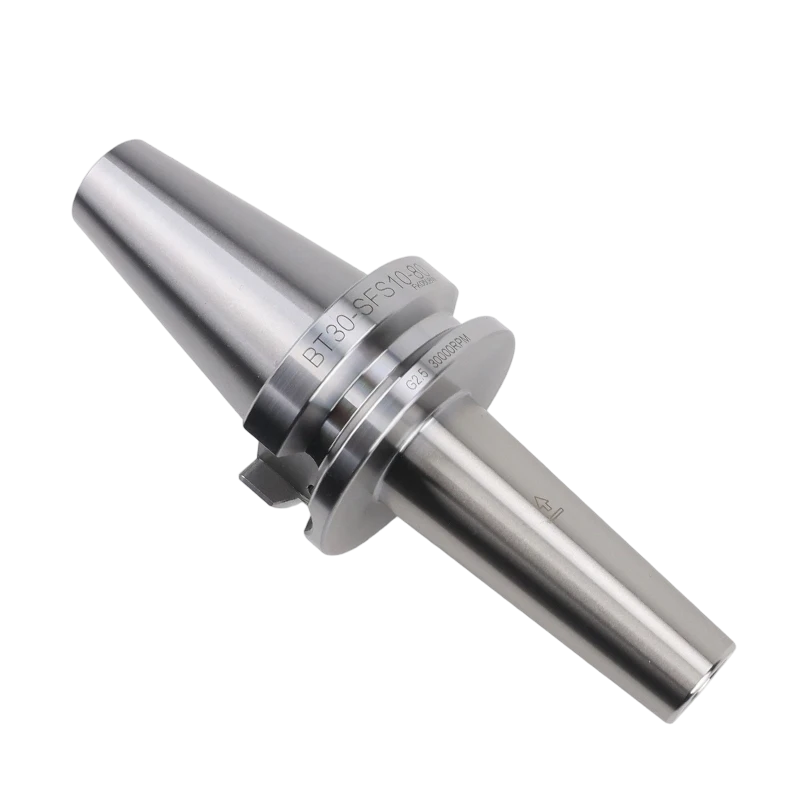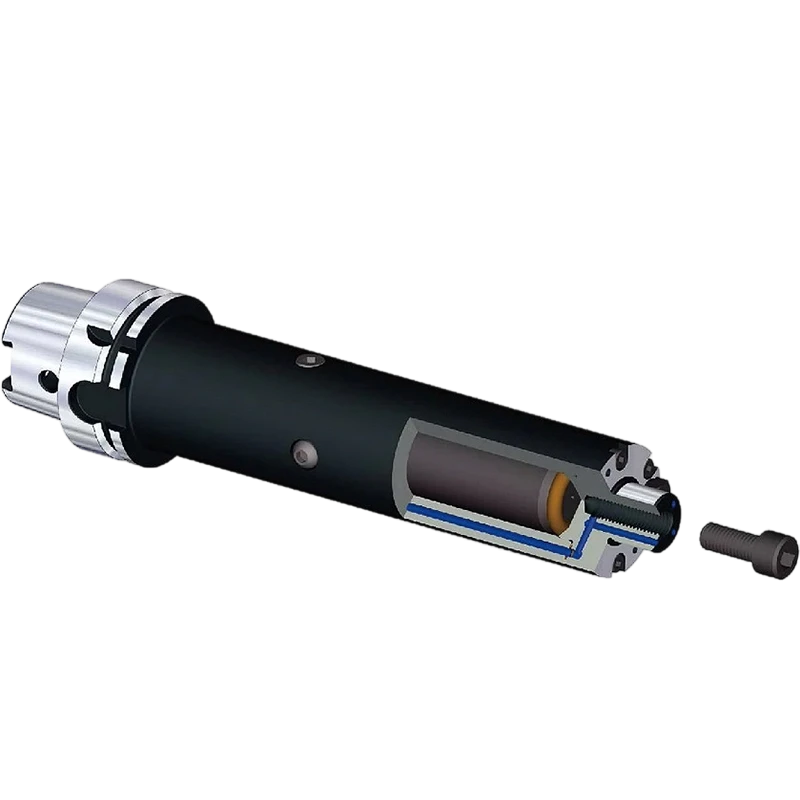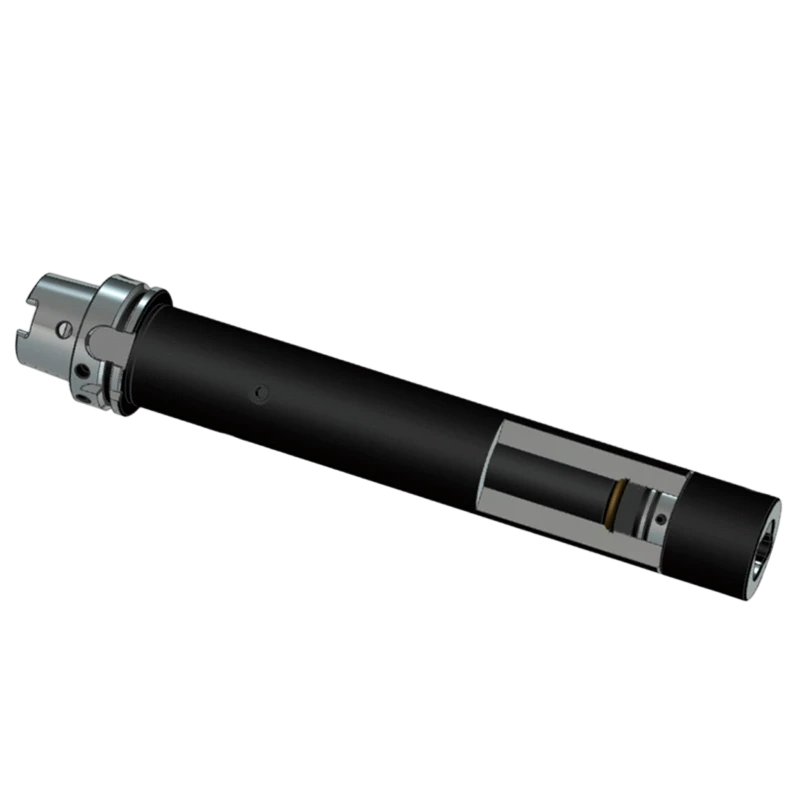


To clean hydraulic tool holders, remove the cutting tool, wipe the holder with a lint-free cloth, and clean its taper and clamping bore with a manufacturer-approved method. Keep solvent, debris, and impact away from the sealed hydraulic expansion chamber. For Hydraulic Tool Holder storage, dry the holder, protect its contact surfaces from corrosion, and keep it in a clean rack. These steps support hydraulic chuck maintenance while protecting the tool taper, clamping bore, and runout performance.
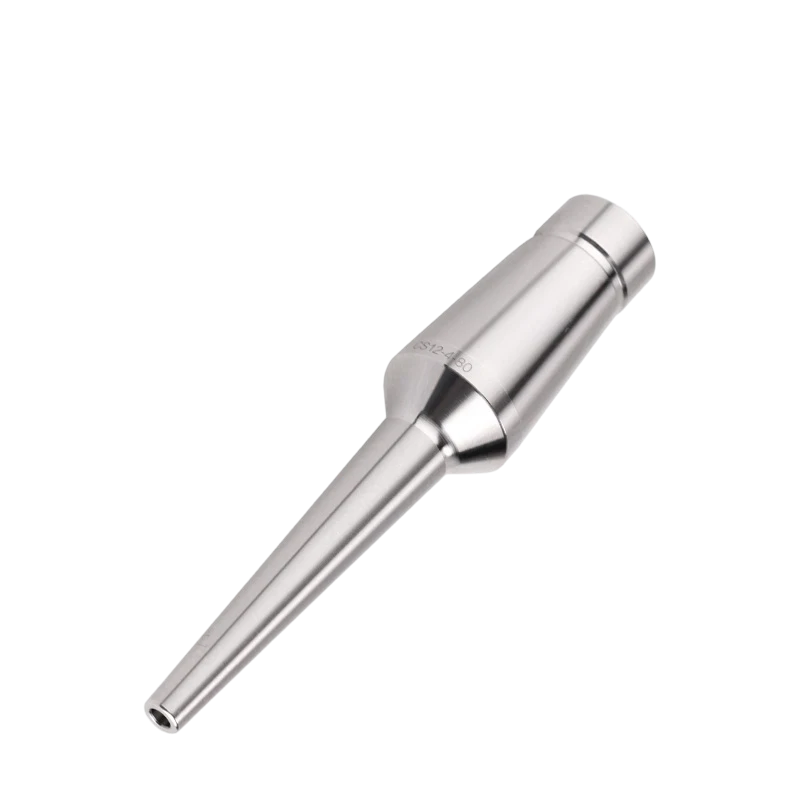
A hydraulic holder grips a tool through fluid pressure acting on a thin-walled expansion area. Contamination on the taper or inside the clamping bore can interfere with seating or tool insertion; corrosion or careless handling can damage precision contact surfaces. The hydraulic expansion chamber is a sealed working component, not a cavity to flush or clean with tools.
For machinists, the practical goal is straightforward: remove chips and residue without introducing new contaminants, inspect before reuse, and store the holder so that its locating surfaces cannot be struck or scratched. Follow the holder maker’s instructions whenever they differ from general guidance here. Ounuowei readers should apply the same principle when checking any holder: the model-specific maintenance instructions take priority over a generic cleaning routine.
Why Hydraulic Tool Holder Cleaning and Storage Matter
- Lint-free cloths: For wiping the outside, taper, and accessible bore without leaving fibers.
- Soft nylon brush or suitable bore swab: Use only a size that moves freely. Do not force it into the bore or against a closed end.
- Approved cleaning fluid: Use the fluid specified by the holder manufacturer or machine-tool shop procedure. Check compatibility with seals and finishes; do not assume that a general-purpose solvent is suitable.
- Good lighting and a magnifier: Helpful for identifying residue, corrosion, burrs, or impact marks.
- Clean holder rack or protective case: It must support the holder securely without touching or scraping precision surfaces.
- Inspection equipment, if required: A suitable test arbor and measuring instrument can be used to check runout according to the holder and shop specifications.
Before starting, stop the machine, remove the holder using the machine maker’s safe procedure, and remove the cutting tool. Wear eye protection and follow the safety data sheet for any cleaning product. Do not clean a holder while it is mounted in a running spindle, and do not dismantle or open a pressurized or sealed hydraulic unit unless the manufacturer provides a service procedure.
Tools and Preparation for Cleaning a Hydraulic Tool Holder
Step-by-Step: How to Clean a Hydraulic Tool Holder
Tools: Holder markings, manufacturer documentation, and a clean work surface.
Action: Confirm the holder type, interface, and model. Find its instructions for cleaning agents, permitted service, tool shank range, and inspection limits. Keep the holder assembled during routine cleaning.
Parameters: Use the maker’s specified cleaning fluid and inspection limits; there is no single solvent or runout limit that applies to every hydraulic holder.
Check: You can identify the holder and have confirmed that the planned method is permitted.
If it fails: If markings are unreadable or instructions cannot be found, ask the holder supplier or maintenance lead before using solvent, applying lubricant, or opening any component.
Step 1: Identify the Holder and Check Its Instructions
Tools: The correct tool-removal method, lint-free cloth, and soft nylon brush.
Action: Remove the cutting tool without levering against the bore. Wipe loose chips from the holder exterior, then brush accessible debris away from the bore opening and taper.
Parameters: Use light hand pressure. Do not use a steel brush, abrasive pad, scraper, or compressed air aimed into the holder; these can scratch surfaces or drive contamination into places that are difficult to inspect.
Check: No loose chips remain around the tool entry, taper, or accessible external features.
If it fails: If a chip is wedged in place, do not dig it out with a sharp tool. Use an approved non-marring method or refer the holder for qualified inspection.
Step 2: Remove the Tool and Brush Away Loose Debris
Tools: Approved cleaning fluid, lint-free cloth, and a freely fitting bore swab if the maker permits one.
Action: Dampen—not soak—the cloth or swab. Wipe the taper and accessible clamping bore, then remove loosened residue with a clean, dry cloth. Keep liquid away from openings, plugs, and any area that could lead into the hydraulic system.
Parameters: Use only the approved product and the amount needed to dampen the cleaning material. Do not flood, immerse, or ultrasonically clean the holder unless the manufacturer specifically authorizes that method.
Check: The surfaces are visibly clean and dry, with no cloth fibers or residue left behind.
If it fails: If residue remains after the approved cleaning cycle, stop rather than switching to a stronger solvent or abrasive. Check the maker’s service guidance or send the holder for assessment.
Step 3: Clean the Taper and Accessible Clamping Bore
Tools: Good lighting, magnifier, and—when the shop procedure calls for it—a specified test arbor and measuring instrument.
Action: Inspect the taper, bore entrance, external body, and accessible clamping area for corrosion, scoring, burrs, dents, cracks, or signs of leakage. Check runout only with the correct test setup and the limit specified for that holder and application.
Parameters: Do not use a guessed tolerance. Measurement method, test arbor, gauge position, and acceptance limit must come from the holder documentation or the shop’s validated inspection procedure.
Check: The holder has no visible damage or suspected leak, and any required measurement meets its documented acceptance criteria.
If it fails: Quarantine a damaged, leaking, or out-of-limit holder. Do not polish precision surfaces, tighten an undocumented plug, or return a suspect holder to production without qualified approval.
Step 4: Inspect Contact Surfaces and the Hydraulic Holder Body
Tools: Clean lint-free cloth and, if approved, a corrosion protectant suitable for the holder.
Action: Dry all cleaned surfaces completely. If storage conditions require corrosion protection, apply it only to surfaces the manufacturer permits. Before use, remove any protective film from locating and clamping surfaces using the approved method.
Parameters: Do not leave oil or rust inhibitor on a taper or clamping bore unless the maker explicitly instructs it; residue can affect seating or clamping.
Check: The holder is dry, with no visible chips, pooled liquid, or unwanted protective coating on precision interfaces.
If it fails: Wipe away excess product with a clean cloth and repeat the approved cleaning and drying process. If corrosion has formed, do not abrade it away without authorization.
Step 5: Dry and Protect the Holder
Tools: A clean, stable holder rack or individual protective case, plus a maintenance label or log.
Action: Place the holder in a rack that supports it securely and prevents contact between precision surfaces and neighboring tools. Keep it in a clean, dry area away from coolant spray, chips, impact, and temperature or humidity conditions outside the manufacturer’s recommendations. Record cleaning, inspection, and any defect found.
Parameters: Use the storage orientation and environmental limits stated by the manufacturer. Do not stack holders loose in a drawer or store them where they can roll, collide, or collect shop debris.
Check: The holder is stable, protected from contact damage, clearly identifiable, and ready for its next inspection or use.
If it fails: Move it to a suitable rack or case. If the holder was dropped or struck, inspect it before use even if no damage is immediately visible.
Step 6: Store the Hydraulic Tool Holder Safely
Hydraulic Tool Holder Troubleshooting: Common Errors and Fixes
- Using an abrasive pad on the taper: Abrasives can alter a precision contact surface. Stop and have the holder assessed if the surface has been scratched or reshaped.
- Flooding the bore with solvent: Liquid can reach areas not intended for routine cleaning. Use a damp cloth or permitted swab, and follow the maker’s instructions if liquid has entered an opening.
- Applying oil to every surface: A film on a locating or clamping surface may interfere with seating or grip. Apply corrosion protection only where permitted, and remove it from functional interfaces before use as directed.
- Using compressed air to blast out chips: Air can propel debris and drive contamination into the holder or work area. Use a brush and cloth instead, following the site’s safety rules.
- Ignoring a leak, dent, or abnormal runout: Cleaning will not correct mechanical damage. Tag the holder out and request qualified inspection.
- Storing holders loose together: Holder-to-holder contact can damage tapers or other precision surfaces. Use individual rack positions or protective cases.
- Assuming every holder has the same tolerance: Inspection limits depend on the holder, test method, and application. Use documented specifications rather than an informal universal figure.
Hydraulic Tool Holder Maintenance Records and Practical Cases
A useful maintenance record includes the holder ID, date, cleaning method and product, visible condition, inspection result, and disposition. For example, a machinist can log “taper cleaned; no visible damage; runout checked using the shop’s specified setup; returned to rack” only when each statement reflects an inspection actually performed. If a holder fails a check, record the defect and keep it out of service pending review.
No named personal story or customer result is presented here because an independently verifiable source for one is not available. Inventing an anecdote would be misleading. A traceable shop record is more useful: it lets a team identify recurring contamination, handling damage, or storage problems without attributing unsupported outcomes to a user.
Summary: A Safe Hydraulic Tool Holder Cleaning and Storage Routine
Clean a hydraulic tool holder with a lint-free cloth, an approved cleaning fluid, and a non-marring brush or swab only where permitted. Keep liquid and tools away from the sealed hydraulic expansion chamber, inspect the taper and bore, and follow the holder maker’s limits for any runout check. Dry it fully, protect only approved surfaces, and store it in a stable rack or case. Consistent hydraulic tool holder cleaning and storage helps prevent avoidable contamination and handling damage; consult the manufacturer whenever the holder’s condition or service requirements are uncertain.